
Wood Serving Tray

I love tropical vibes! And this serving tray is just that! One thing that can always come in handy is a serving tray. There are so many styles and sizes of serving trays to match any décor. I wanted to make a cute little mini tray with tropical vibes. This tray is the perfect size for a couple drinks and a snack or to use it for whatever you need. Making this tray was super simple and you don’t need too many materials. It was so much fun to make and I love how it turned out. Follow along to make your own wood serving tray!
Tools Needed:
Miter saw
Table saw or circular saw (OPTIONAL)
Sander (OPTIONAL)
Materials:
1 piece 5 x 5 plywood
1 piece 1 x 2 x 8 pine board
Sand paper
Wood glue
Clamps
Stain
Conditioning coat
Clear coat
Safety Equipment:
Goggles
Ear protection
Mask
Mask filters
How to Build a Small Serving Tray
Step 1:
Cut your pine board into to the proper measurements with your miter saw. You need to cut 45 degree angles on each end of the side pieces. The measurement of each side piece should match the side of your base from short angle to short angle. My tray is approximately 11 in. x 12 in. So you can figure out what size you want your tray to be and then cut your sides accordingly.
Cut your plywood to fit your sides pieces. I cut my plywood with my table saw. You can use a table saw or circular saw, but you can also have the lumber store cut your board for you if needed.

Step 2:
Sand all your wood pieces. I didn’t have an electric sander at the time so I just used sand paper and put in that sweat equity.
It wasn’t that bad sanding by hand except I messed up and sanded in the wrong direction. I used higher grade sand paper and worked down to lower grade sand paper. I used 220, then 100, then 80. This is not the right way, you are supposed to start with the lower number which is a (rougher grain) and then move up to the higher numbers for finer sanding. But it still turned out ok and that’s what diy is about trying, messing up, trying again, and making beautiful pieces of work. So don’t get discouraged if you mess up just try again!
Step 3:
Put the table together to see how you want it to look. I did this to make sure all the angles matched up and everything fit. And also wanted to pick the best placement for each piece to show off the grain in the wood. I also only used the plywood for support. I really loved how the wood grain looked. If you want more support in your base I would suggest using two pieces of plywood or a thicker piece. Also, take a picture of your project when you put it together unfinished. It will help you put it back together in the right order once it’s stained.


Step 4:
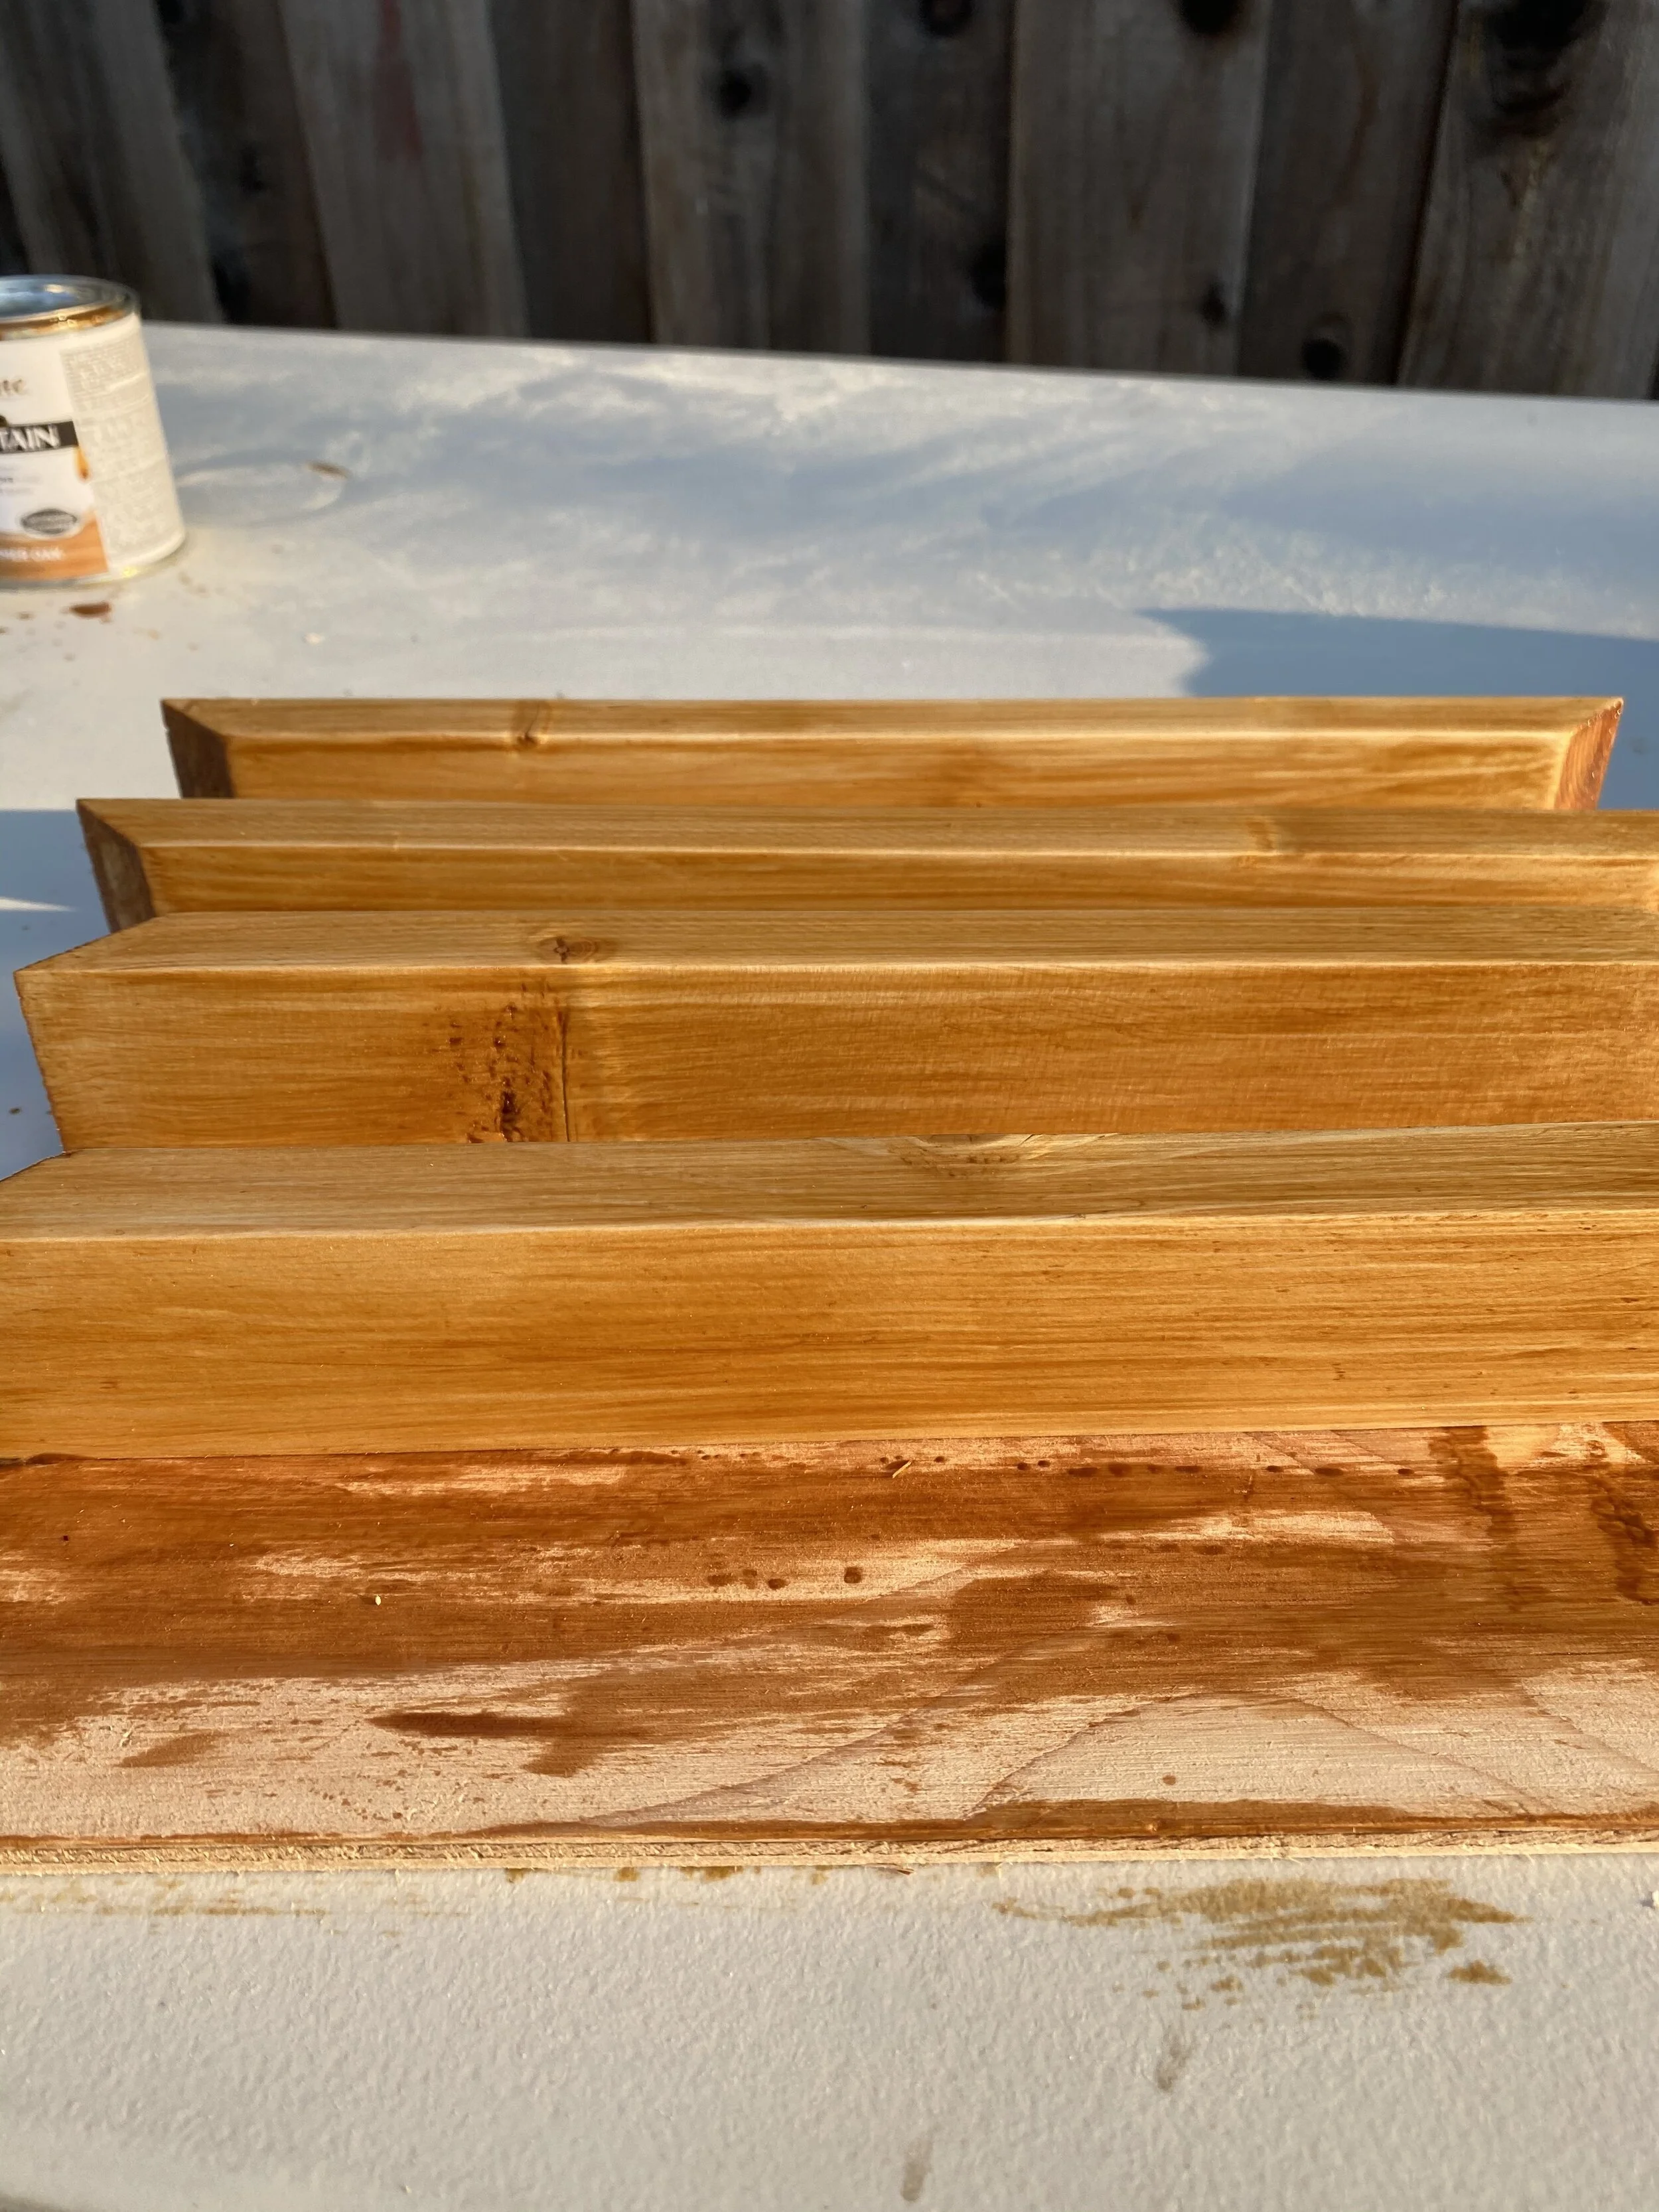
Prep and stain your wood. First I prepped the wood with conditioning oil and let that dry. Then I went in with summer oak wood stain. I quickly painted the stain on and then wiped it off. I didn’t have staining cloths so I just used a paint brush and wiped it off with some washcloths. Then let that dry for a couple hours.


Step 5:
Assemble your tray with wood glue and clamps. I put wood glue on all the ends of the side pieces and all along the sides of the base piece. Then I put it all together and held it in place for the glue to stick. Once it was all together I put on the clamps and let it sit overnight.


Step 6:
Put a cleat coat on your tray. After taking the clamps off I added a clear coat to the entire tray. I think it turned out so pretty and love all the detail in the grain. The stain color was perfect for the tropical vibes I was going for. Have fun DIYing your trays!


