
Diy Bathtub Tray
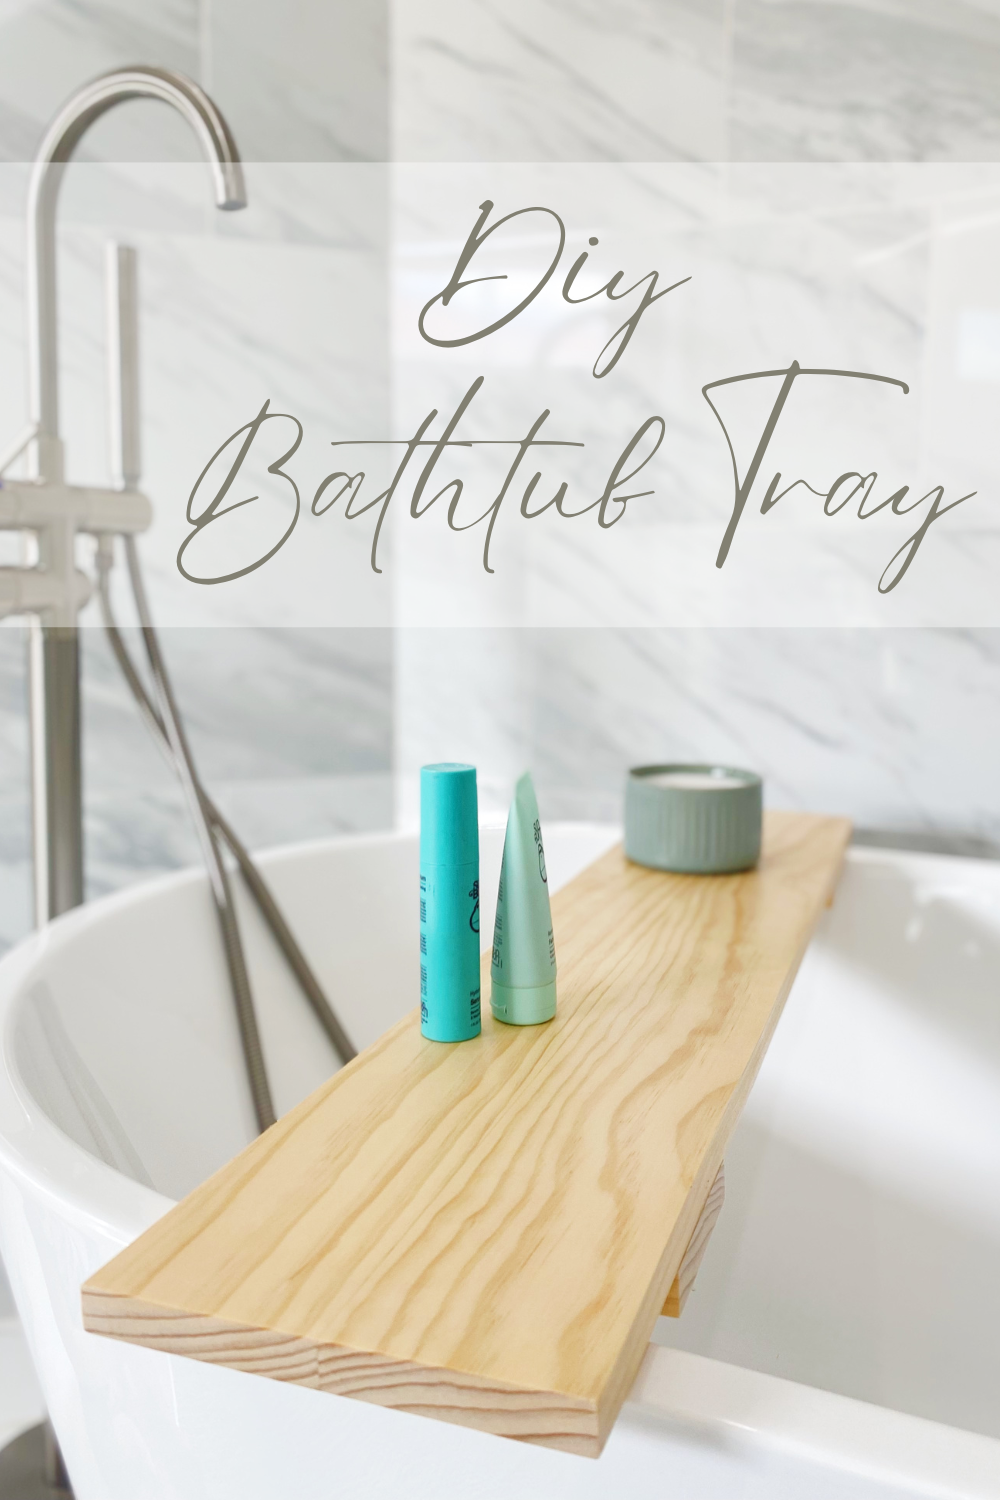
One of my favorite ways to relax is to take a bath. Especially when it’s cold out or my body is sore from working out. A bath just relaxes your body and your mind. Baths are also special to me because this time last year I took one at 2am right before my water broke. It was a relaxing way to connect to my body and baby before going into labor. There is something about water in general that just makes you feel at ease. Now with fall and winter coming it’s going to start getting cooler. And cooler weather means more baths! So I wanted to make a bath tray I could use to hold all my bath essentials and my kids could even use to play with their toys. I wanted to keep this bath tray simple and clean, so I chose to do two boards with little wood pieces underneath so it wouldn’t slide around. Below I’ll share how I made this cute simple bathtub tray. Have fun with it and use your bathroom for inspiration to vibe with it or be a stand out piece.
Equipment:
Miter Saw/Table Saw
Sander
Measuring Tape
Clamps
Materials:
3 pieces of wood
Wood glue
Clear Coat
Process:
Step 1:
The first step is to cut all your pieces of wood. You’ll need to know how long you want your tray. I wanted mine to come over the bathtub on each side a little bit. After you measure how long you’ll need your tray to be you can buy boards that long or cut them to those dimensions. You can make the width however thick you would like. I made mine using two boards. Once you have the length and width of your boards you should try them on your bath to make sure you like how it looks. Play with the grain to see what looks best. Then you need to measure where to put the pieces underneath. I measured so they would be right up against the bathtub on either side. Cut those two pieces to fit the width of your board.
Step 2:
Once you have everything measured and cut you can glue your boards if your using more than once piece for the base. I used two pieces of wood so I glued those together and clamped them over night. Once those were glued I sanded it all, I started with 80 grit to 120 grit and then to 220 grit. I also sanded the bottom pieces and then glued them on. After it was all put together I gave it another sanding to make sure it is all smooth. Then you paint, stain, or add your clear coat. The wood I bought had a shine to it. So I just added a clear coat and it really brought out the shine and the color of the wood beautifully. I love it and am so excited to use it! Hope you have fun making this cute simple bathtub tray!