
Guide to Woodworking

Welcome to Woodshop!
This is a guide that is going to go into all things woodworking! There will be a series of instructional posts about how to get started, tools and procedures, turning woodworking into a career, and everything in between. This welcome to woodshop post is going to cover the basics on how to get started on your woodworking journey. I’ll be talking about prep, safety, and tools to start with. Get excited to learn all about woodworking!
Have you ever been browsing online or through a home decor magazine and seen a piece of furniture you are absolutely in love with, only to see its out of your price range? Or have you ever been looking for a specific piece of furniture to perfectly match a room you have decorated and just can’t find the perfect fit? There is a solution; do it yourself! Welcome to the art of DIY. It is such a rewarding feeling to build something with your own hands and to the exact specifications, colors, and style that you want. Not to mention the price tag looks a lot friendlier when you’re using your sweat equity to create something. There are so many different projects you can diy while using a variety of different materials. My favorite way to diy is woodworking, to build stylish furniture and home decor. However, as amazing as woodworking is, it can also be very intimidating at first; especially if you have never touched a power tool before. With this guide I will teach you to push your building fears aside and take control of this new found skill. Whether you are the type of person that walks into a hardware store and loves that smell of lumber you could make it into a candle (that’s me), or someone that wants to walk right out with intimidation and confusion, you can learn how to build it yourself! It’s important to remember that you will make mistakes, but do not discouraged. Mistakes are part of the learning process, you will get better with practice. With the help from this guide and some trial and error you can learn to be an empowered and successful woodworker.

Wood Shop Agenda
Lesson 1: Beginners Guide to Woodworking
-Research
-Workshop
-Safety Equipment
-Power Tools
-Find Materials
-Getting Started

RESEARCH
The first step for any new skill is research. You need to figure out exactly what you are trying to accomplish in the diy space. Are you looking to make a piece of furniture you have had your eye on, trying to make crafts to sell, or really start woodworking as a business. There is so much information online and it can be overwhelming. I would suggest writing out some of your woodworking goals and then looking up articles relating to those goals. If you want to make a piece of furniture look for what you want by using Pinterest or Google to find plans for that piece of furniture. If you can’t find exact plans look for the closest ones you can. You can always alter measurements and design for what you want. You also want to put your own touch and uniqueness to it anyways. You are really using the plans for inspiration and structural soundness. If you are looking to make projects to sell look up posts about diy items that sell well. If there is something you already have in mind to make, research others who have made that item to get some inspiration and direction. You want to get inspiration from pieces without completely copying them and if you do get inspiration in someones work give credit where credit is due. If your goal is to start making woodworking your business, I would suggest researching others who have made it a business. See what they do and how they are making income to give you a starting point to where you could take your business. There are different ways to make woodworking a business. You can make and sell unique customs pieces or similar pieces repeatedly, production line style. You can make woodworking plans to sell or even start a blog or youtube channel to promote your products and work with companies for sponsored content and affiliate marketing. There are many exciting ways you can turn this craft into a business. Focus on what you would want to do to make income from this trade and start researching. After you have researched and figured out where your niche is going to be, you can focus on what to do with that information and how to put it into action.
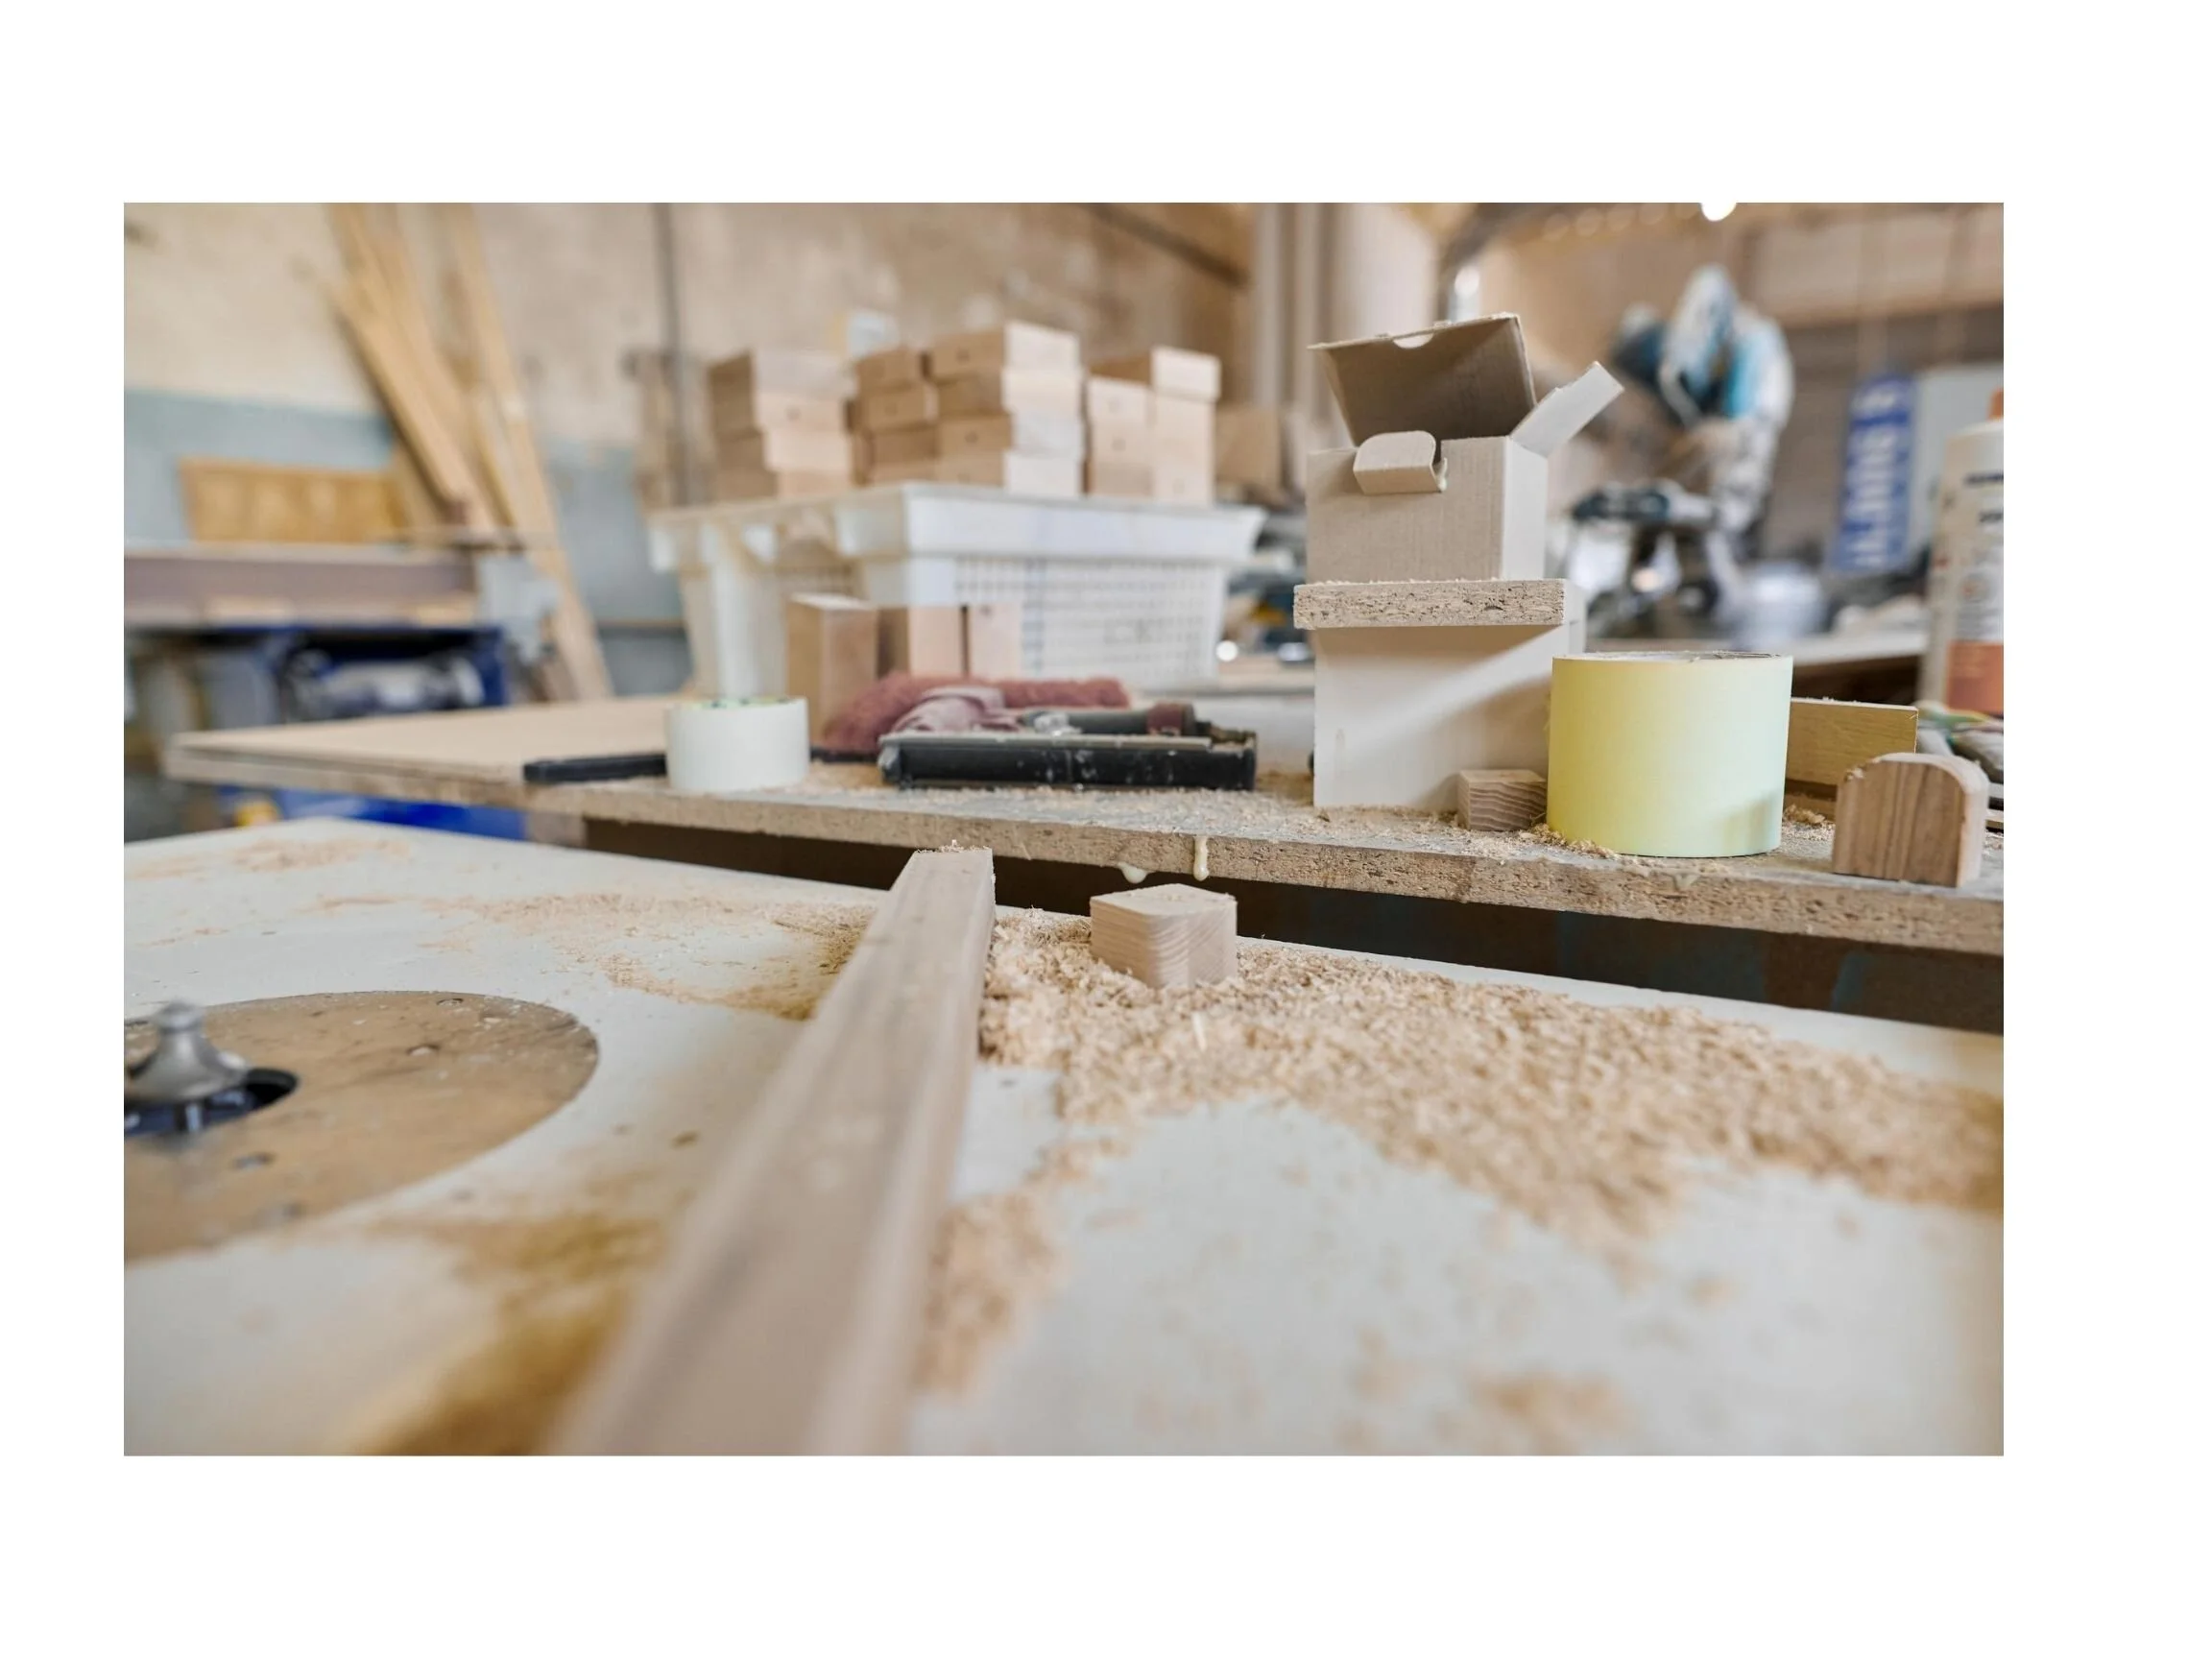
WORKSHOP
One of the next things you should be thinking about is where you are going to be woodworking. Working with wood can be very messy. From sawdust to fumes to paint splatters, you want an open space that can handle a little roughing up. I would suggest working in a garage, driveway, or even outside in your backyard for a more comfortable experience. If you have some type of shop you can work in that would be great but even a small area outside can be doable. Make sure your workshop has access to outlets and shade if you are planning to work outside. You will need a sturdy table to set up your power tools and materials. Hip height is the best for your table so you aren’t straining your back as you are working. If needed you can use the same table you put your saw on if that’s all you have or all you have room for. I currently have two tables, one is made of two saw horses with a piece of plywood on top that holds my miter saw and a fordable table to work on my projects. It is nothing fancy and I will eventually work on making my own custom table but it gets the job done and that is what’s important. I work right outside of my garage and I have an umbrella I can put up if it gets too sunny. One thing that is worth looking into is a sawdust collecting system. Sawdust gets everywhere! The little bags they put on your equipment catches next to none of it. There are many different ways to make this system work for your space. Just look up saw dust collection on Pinterest or Google and find a solution that works for you. If you keep your space organized and somewhat clean you can have a great looking, functional, and safe workshop. Also make it fun, you don’t have to have the best of the best everything right away. Set something up that works, throw some music on, and start building.

SAFETY EQUIPMENT
The first thing you’re going to want to have for your workshop is safety equipment. This is an important step that you shouldn’t overlook. Some basic safety gear your’e going to want to have is safety goggles, ear muffs, masks, shoes, and gloves. Safety goggles will protect from flying wood chips and the small particles from the sawdust. Ear muffs are more of a preference but power tools are LOUD so I think it just makes it more comfortable and probably helps your hearing long term to use them. A mask is essential for the nasty saw dust particles flying around, especially the ones you cant see. These are the most harmful to your lungs and can stay in the air for thirty minutes and sometimes longer after you stop cutting or sanding wood. A mask also helps protect you from the fumes from chemicals in your stains, paint, and other materials. Gloves are also important when you are dealing with these chemicals. There are also gloves that are designed to be worn when dealing with sharp objects or tools. I would recommend steel toe boots to protect your feet, especially if you start working with heavier materials. Regular shoes or boots will also help as long as they are closed toed. Some other important safety mentions are to have your hair pulled back or in a bun if it is past your shoulders and you shouldn’t have on any lose jewelry or clothing. Some cleanliness tips are to wear an apron to protect your clothes from stains, drop cloths to protect the floors, and keeping your walking space and power tool area free from clutter. Before operating any tools make sure you read the manual, you want to be familiar with your power tools. Know how to set them up, how they function and how to maintain them. You should have a good idea of how to operate your power tool before you even turn it on. When I started reading about my table saw and read that the wood could be violently thrown back at you for different reasons I made sure to understand that manual. Paying attention to these safety measures is an important first step to woodworking.

TOOLS
Now the fun part, POWER TOOLS! Power tools can be very intimidating and they should be because they are serious big pieces of equipment. They can be dangerous if you are not operating them correctly. But once you know how to safely and effectively use them they can be so empowering. Using power tools while listening to some raging music in the fresh air could just be the therapy you didn’t know you needed. Some power tools you should get when you are first starting out are a miter saw, drill, and orbital sander. A miter saw will be your best friend in woodworking. An extra plus would be a circular saw or table saw but if you don’t have either you could always have the lumber department cut down wood that your miter saw can’t. Your miter saw can do a lot of cuts so you might not even need it. Some other tools that will be helpful in starting woodworking are a kreg jig, tape measure, a ruler, wood glue, pencils, and clamps. You can do a lot of projects with minimal equipment.

MATERIALS
Another thing you will want to focus on is getting materials to design and finish your projects. This could be stains, paints, wallpaper, and others. There are also many different options in each category of materials. There so may shades of stains and paints and different prints of wallpapers. You can do so much with all the options out there. Staining the wood is going to give your project a more natural look. The wood grain is going to show through the stain. Depending on what color of stain you choose you can make the shade darker or lighter depending on how long you leave the stain on. For stains and paint you also want to use a pre wood conditioner and an after care sealant. This will make your project look smooth and flawless. There are oil based stains and paints as well as water based stains and paints. Water based are better for the environment because they have less VOCs but they are usually not as rich as in color and can be more expensive. You can try different ones and see what you like best. You will want to use rags to apply stain and either rollers, brushes, or a spray gun for paint. If you are going to use other materials like wallpaper there are different ways to apply those to wood. There are so many options to make your project just the way you want.

GETTING STARTED
You now have all the tools you need to start woodworking. Try and focus on what is important and do steps in order. Once you have everything you need to get going you just need to practice. Have fun with your new found skill. Get started and create your own waves.